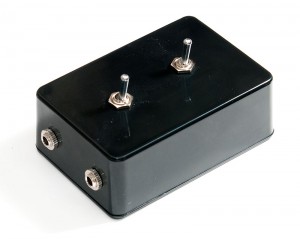
Simple X Audio Switch (Double-Y)
I’ve had a small problem over a year: I have two headphone amplifiers, a transistor-based O2 headphone amp, and a tube-based Little Dot MKII. I also have two sets of headsets. Because switching the cables all the time is somewhat tedious, I haven’t really used the other amp and headphone set.
There are several Y switches that you can buy, but most seemed either expensive or mostly tailored towards electric guitar enthusiasts. And I would still need to combine two Y switches to toggle between the two amps and headphones. As the construction is really simple, I decided to solder my own. Here’s a short tutorial on how to make one yourself. You’ll need:
- 4 audio connectors (I chose 3.5mm over RCA), two to each end
- 2 switches with at least 3 connectors (left, right, ground) – I chose two 4 way switches
- A box where you can drill holes for the connectors and switches
- Small length of wire, some solder and soldering iron
1. The Schematic
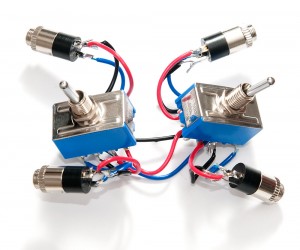
The design of the switch is extremely simple. In both ends, three wires come from each of the two connectors to a switch, and the switches are connected to each other. I chose not to combine any ground lines to avoid ground loops. You need also to select a switch which breaks the connection on one side before connecting the other so the amplifiers will not feed into each other.
2. Soldering the wires
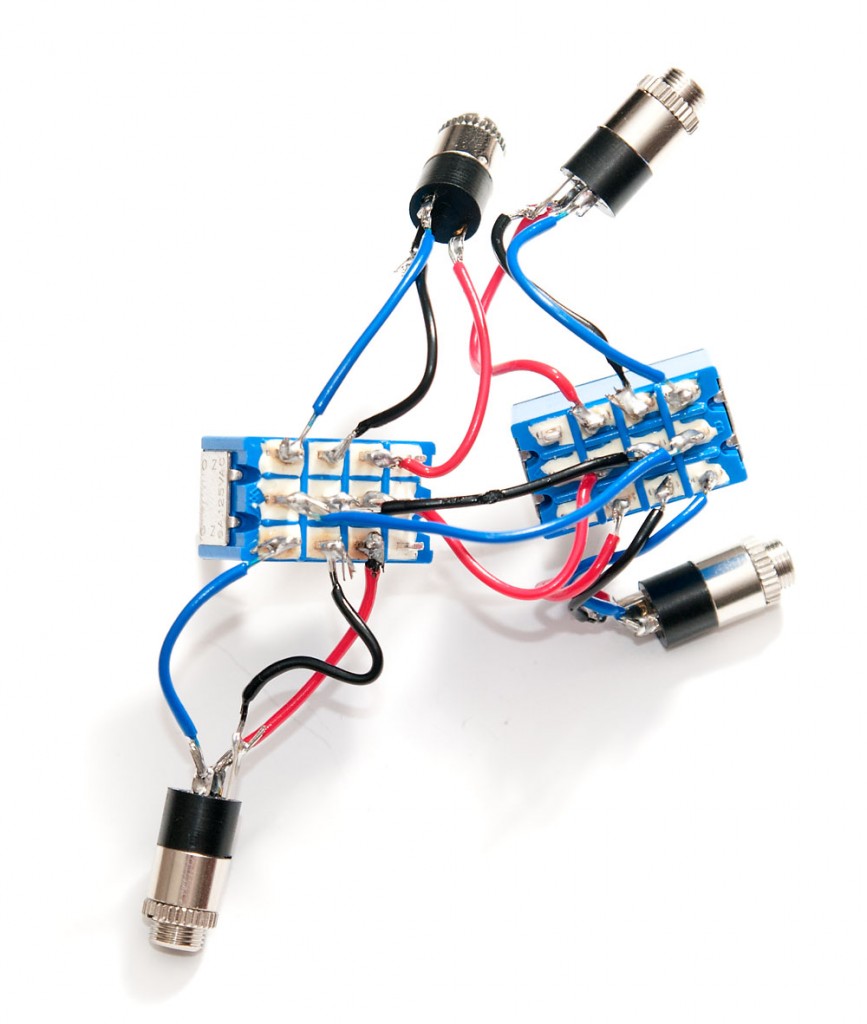
Despite the simple construction, there is a lot of soldering involved. Each of the four connectors will have ground plus left and right channels, and all have the switch on the other end. That makes 24 solder points (4x3x2), and there’s six more between the switches for a total of 30 points. The 3.5mm connectors had small “L” and “R” markings to tell which channel is left and which is right. I used different colors of wires for each type to avoid mixing L, R and ground.
My connectors were constructed so that either left or right column of 4 pins is connected to the middle column based on switch state, so the signal comes from left or right, goes from the middle column of the first switch to the middle column of the second, and continues to either left or right column to the outputs. Track your lines carefully so you don’t accidentally solder left or right channel to ground and vice versa, as this has the potential to do some harm! Also, any short circuits may destroy your amplifier in the worst case, so check the results very carefully, optimally with a ohmmeter!
3. The Enclosure
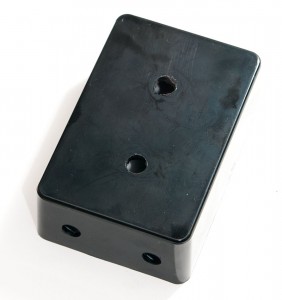
For the enclosure, I chose the smaller that would accommodate my construction. When drilling the holes, double-check first that your components will not overlap with other parts inside – I accidentally drilled the input holes in the first box too close to each other, and the switch would not fit between them. Also, if you choose a plastic container like I did (I didn’t want to risk short circuit with metal casing), do not drill too fast or you might melt a bigger hole than intended!
4. Assembly
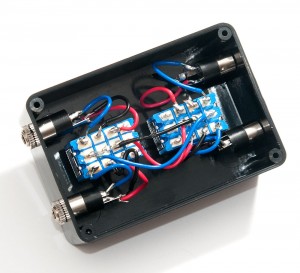
Assembling the case should be straightforward, although you might want to have a short mental excercise about how you are going to cram everything inside. I had some issues with the slugs and nuts of the switches getting out of their proper position when I already had attached the connectors, and as it was impossible to manipulate them back, I had to try three times before I managed to screw everything in place at the same time.
5. Conclusion
Once I had everything in place, the construction felt very solid, and sound wise I haven’t been able to tell the difference to my original setup without the switch. Being able to choose between two headphones and amps with a flick of a switch is a definite improvement. And I suspect that with $20 in parts and a bit of soldering, the quality is actually better than many $50-$100 switches you can buy from a shop (most of them made in China). With short wire runs and relatively simple electrical needs of headphones, I doubt human ears can hear the switch at all.

