Giving Raspberry Pi Camera Nearsight with Reading Glasses
Back again! The summer holidays gave me some time to write after a long hiatus, and this time it’s a Raspberry Pi related article. I’ve had the excellent opportunity to play around with a Raspberry Pi Camera Module for a few days. Or actually modules, as I got both the normal and NoIR without IR filter (more about that later) from Farnell / Element 14. They also stock an excellent selection of Pi accessories, so be sure to check those out, too.
But without further ado, let’s get onward. I’m still thinking up cool projects to do with the camera, so if you have nice ideas, please feel free to share them in the comments section!
Unboxing and First Impressions
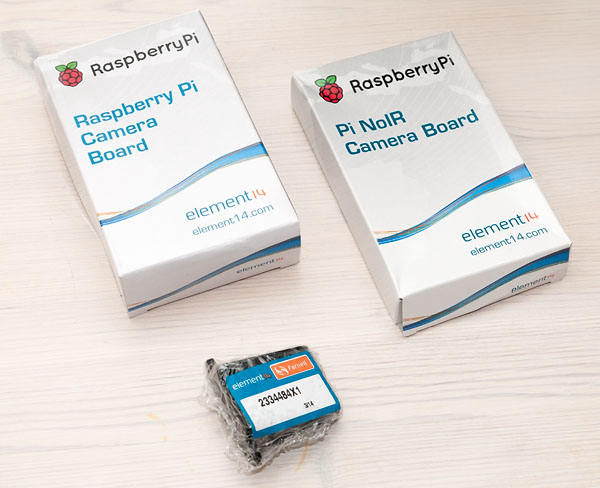
The camera modules arrived in simple boxes, branded with element14 logo and URL. A nice additional touch was an included instruction sheet outlining the installation procedure, as well as a link to www.element14.com/picamera with further info.
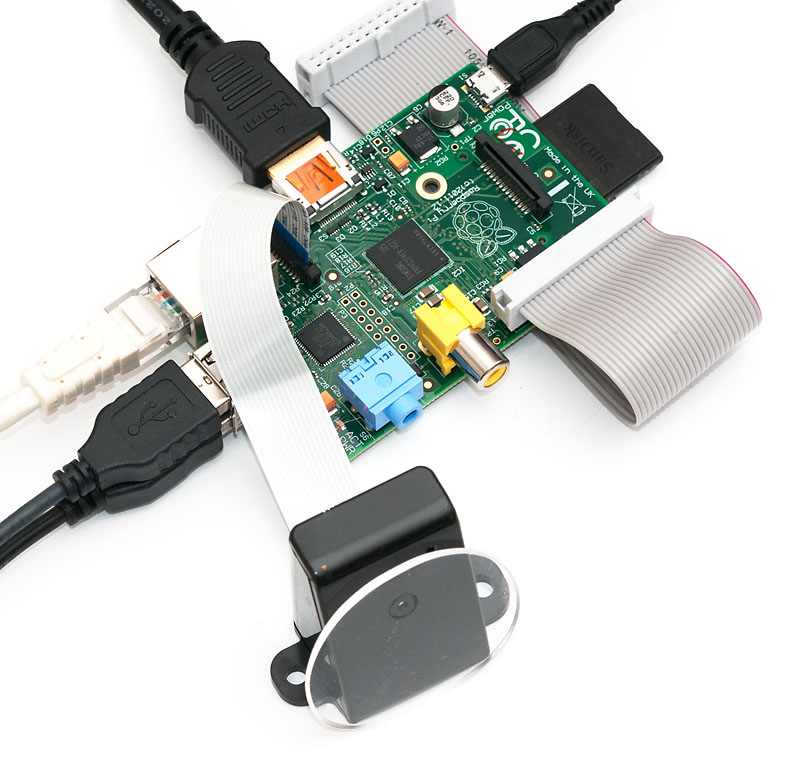
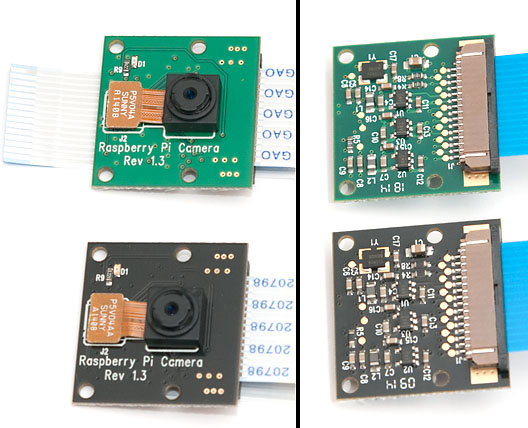
Both the IR-filtered (the one showing normal visible light) and the NoIR (the one without the filter, and thus showing both normal light AND infrared) have exact same outward appearance. The installation was quite easy, but the flat cable offers less positioning and flexing freedom that your standard webcam – obviously the Pi camera is meant for more integrated installations.
Installation was relatively straightforward, basically following the hardware and software instructions widely available in the web. After standard sudo apt-get update & upgrade and sudo rpi-update, the camera was working nicely with the raspistill command. Image quality isn’t amazing, but that is to be expected from a sub-$30 device.
Doing Something Useful: Close Focus
I didn’t yet have a specific project in mind for the camera, but I was fairly certain it would involve either something with image recognition, or alternatively the dark vision abilities of the NoIR camera. However, as I had no IR filter at hand to dim visible light out, and no IR lighting, I started to investigate the image recognition side first. However, it quickly became apparent that the camera has somewhat of a handicap if OCR or similar activities are considered: The wide angle lens has a fixed focus with objects from about two feet onwards in focus. And the resolution isn’t good enough to make out letters or anything around that size. Time to start googling around!

Some people suggested that the lens could be carefully unscrewed to change focus – someone had even hotglued additional stuff to the lens to make these adjustments easier. Others had used iPhone lens accessories to change the focus distance. However, a great (and inexpensive) tip in the Raspberry Pi forums caught my attention: reading glasses.
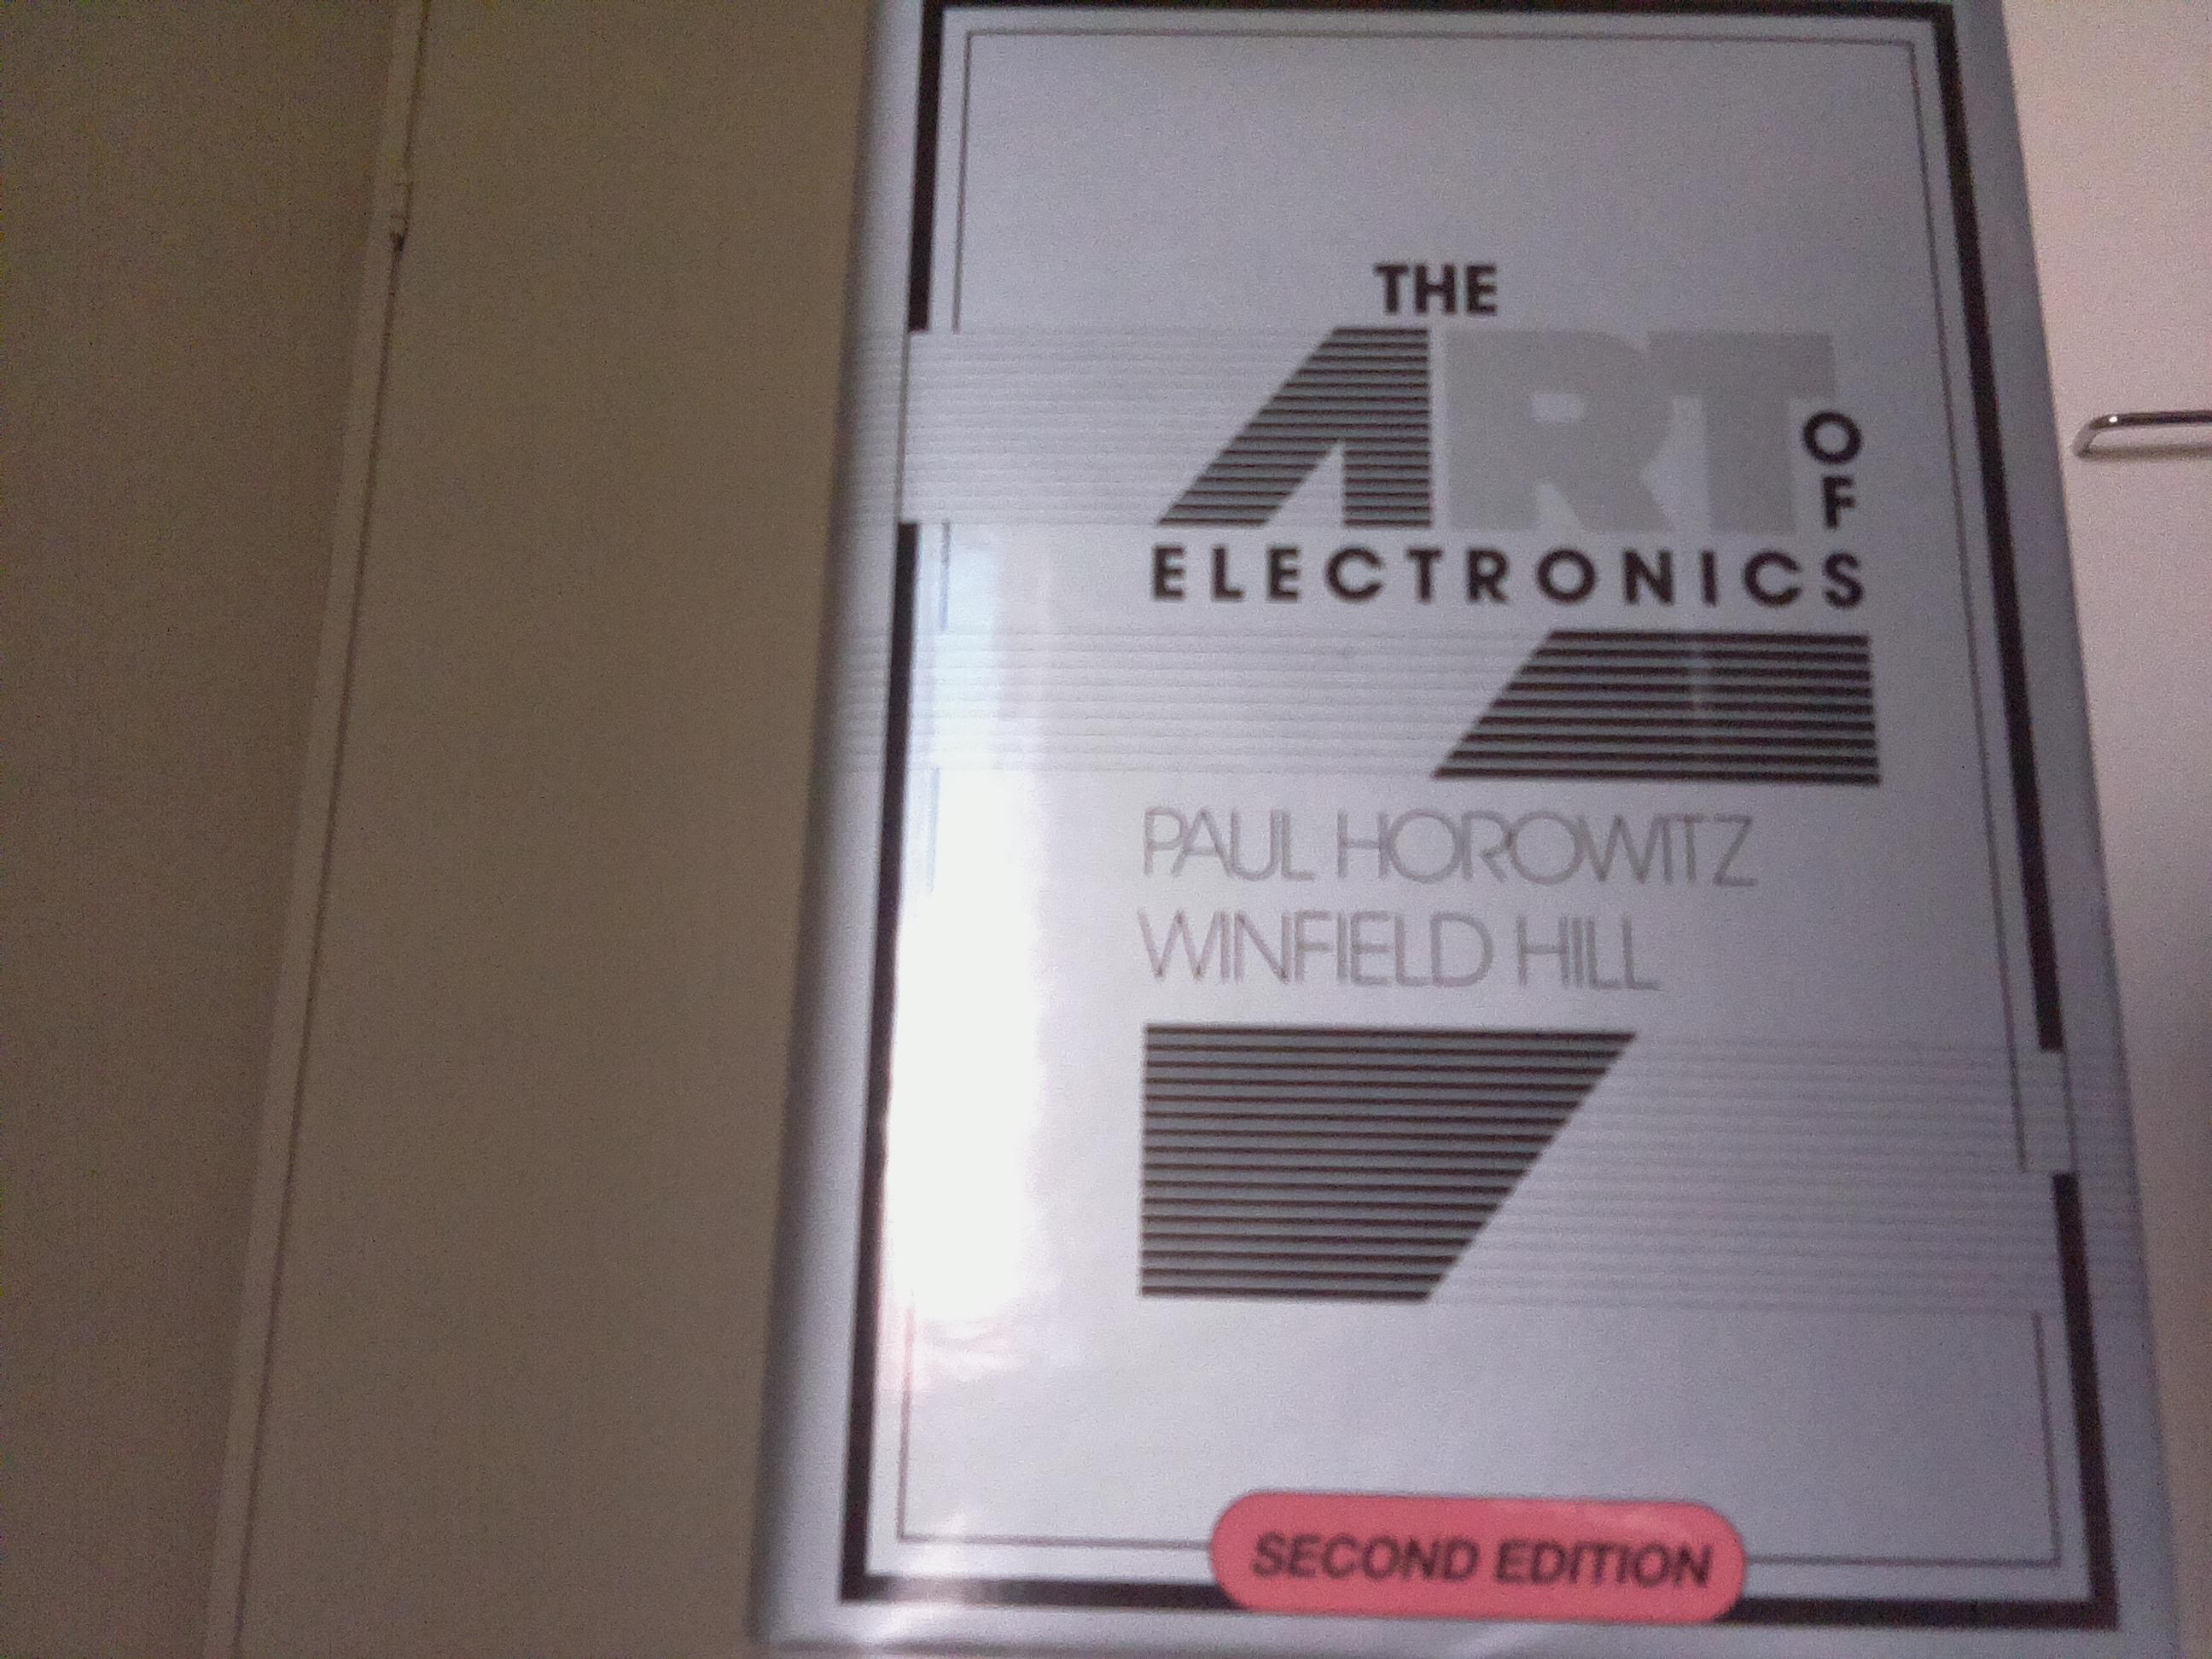
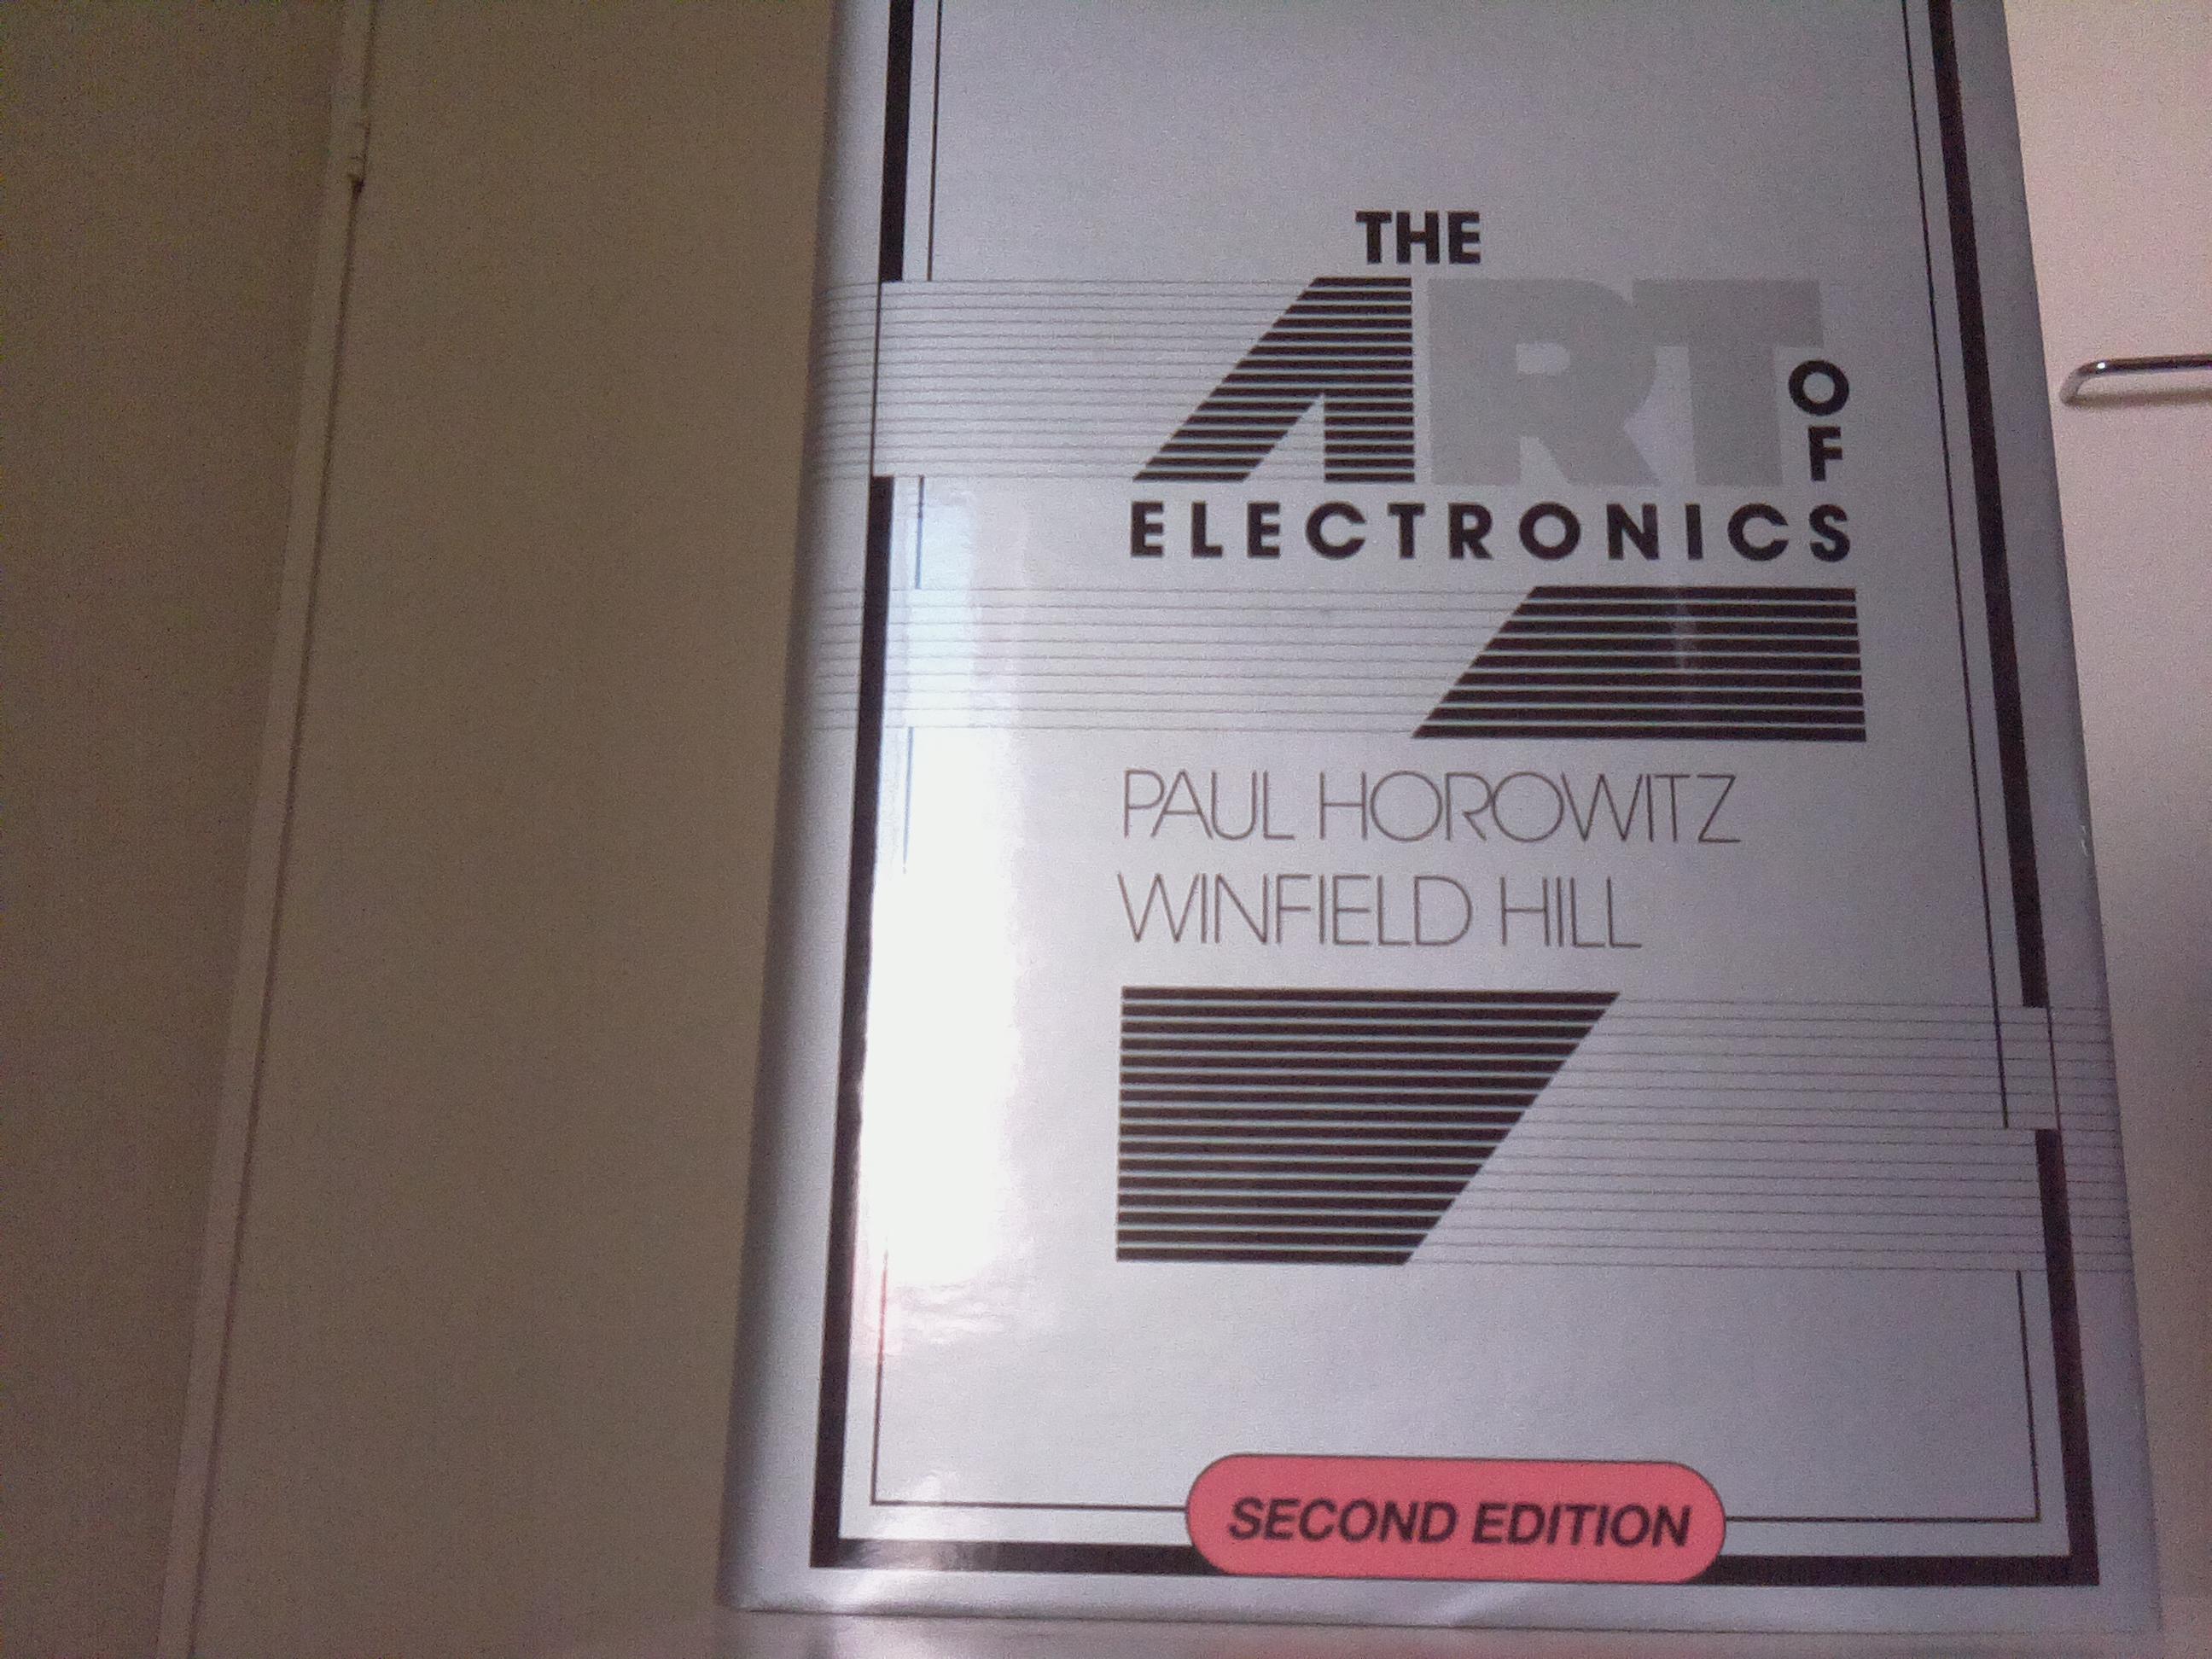
I got +2.0 reading glasses from nearby store (eBay would’ve worked, too), and after some violence to the rims, I had two nice plastic +2.0 lenses. Putting one on front of the Pi camera offered a great improvement:
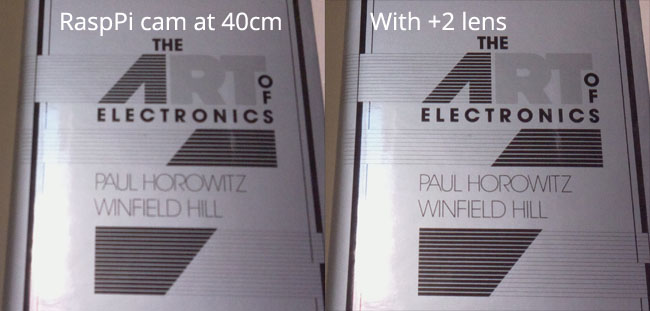
You can view the full-size (albeit a bit compressed to ease the bandwith need) before and after images by clicking the links. You also get an idea with the Pi camera with average lighting can accomplish from ~40cm (1’4″ for the metric impaired :) shooting distance. Still nothing to write home about, but with some processing, a lot of interesting machine vision projects become possible.
For example, mounting a Pi with a camera and +2 lens above a well lit surface, you can build a document scanning station for those papers you wouldn’t really want to keep, but contain useful information. With simple motion detection, one could even leave the application permanently on.