PiSerial Arduino Communication Library
As a continuation to my Raspberry Pi and Arduino communication post, I thought I’d do the same but opposite way. This time, I thought it would be nice to make a proper Arduino library to make the process more streamlined.
To make communication more robust, I decided to implement a more formal communication over serial to enable applications that have some idea if a command sent to Arduino was successfully carried out or not, and also introduce basic error recovery if invalid commands or wrong number of parameters are received.
If you haven’t worked with Arduino libraries before, I suggest you to familiarize yourself with this basic tutorial or the other one at Arduino Playground. If you’re not familiar with AnalogWrite(), a quick peek to Arduino PWM Tutorial may also be in order.
Serial communication protocol
I wanted to make a simple formal protocol to send commands and hex, byte or word-sized parameters related to that command over serial line to the Arduino. For the protocol, I had these requirements:
- Text-based, so communication can be emulated with Arduino IDE’s “Serial Monitor” tool
- Size-efficient to speed up communications with slow baud rates
- Support for at least a few dozen commands and free number of parameters
- Success and error messages from Arduino
- Capability to return to known state after invalid commands, invalid number of arguments, communication errors or breakdowns
After some consideration, I chose to select non-overlapping sets of symbols from the ASCII character set for commands, parameters, control characters and success/error messages:
- Small letters (a-z) for commands (26 should be enough for everyone, right?)
- Numbers 0-9 and capital letters A-F to send parameters as hex-encoded values
- Newline to mark end of command and parameters (either ‘\r’ + ‘\n’ or just ‘\n’)
- Capital letters O, K, and R for success (OK) and error (RR) indications
With non-overlapping characters used for different things, detecting errors in sent commands becomes easier, as any “non-expected” character marks an error situation and as status messages OK and RR do not appear in commands, implementing two-way communication (commands to both directions) is easy later on.
In the protocol, command letter is sent first, followed by any parameters in hex format (number of parameters can be anything from zero to arbitary high), and the sequence is terminated with newline. For example, a parameterless command ‘x’ would require sending “x\n”, and another command ‘y’ that would take two byte-sized parameters (two hex numbers each) could be invoked with “yABCD\n”, which would translate to y(0xAB, 0xCD) (note that most significant nibble is sent first, and parameters are sent in left-to-right order). If the command is received and executed successfully, “OK” is returned, and otherwise “RR” to indicate error condition. Note that neither status includes a newline.
On Arduino side, we need to first receive the command, then parameters, if any, acknowledge the newline sent, and finally check for errors (maybe there was invalid character received, or not enough parameters before newline, or too many) before executing the command and returning “OK” – or return “RR” if either parsing the command or executing it failed.
PiSerial Arduino library
To make it easy for Arduino sketches to implement the protocol, I designed a simple wrapper library around the Serial package. It’s fairly straightforward: There is a initialization function that is called in setup() part of Arduino sketch, then a method to read (potential) command from serial, three paramXXX() methods to fetch parameters, and endCommand() method that fetches the newline after a command (or enters error state if something else is encountered). Finally, there is an error-checking function and two methods to send OK/error status over serial line.
class PiSerial {
private:
	char nextCommand;
public:
	PiSerial();
	~PiSerial();
	void init(int baudrate);

	char getCommand();

	int paramHex();
	int paramByte();
	int paramInt();

	void endCommand();

	int isError();

	void sendOK();
	void sendError();
};
Apart from constructor and destructor, the methods are introduced in the order they are usually called (relevant paramXXX() methods are invoked for each parameter, if any). There is also one private variable, nextCommand to store a potential command character during parameter gathering – this may happen if a command is called without enough parameters or without adding a newline to terminate the command correctly – in this case we don’t want to miss the next command also, and as there is no unread() in Arduino’s serial library, we’ll emulate it ourselves.
On the code side, the most important function is getCommand(), which does four things:
- Checks if potential command is stored in
nextCommandand if so, uses that instead of character read from serial line (skips to step 4) - Checks if the serial buffer is empty, and if so, returns zero
- Reads a character from serial line
- Checks if read character is a valid command, and returns it – if not, returns zero
Because of this structure, getCommand() can be called in the loop() section of the Arduino sketch, and the method will effectively go through the bytes read from serial line until a valid command is encountered (recall that parameters, newline and status messages are not valid command characters in the protocol), so if there is “garbage” received before first valid command, that causes no problems.
char PiSerial::getCommand() {
  int cmd;

  if(nextCommand) { // command received during paramXXX() calls
    cmd = nextCommand;
    nextCommand = 0; // clear error state now that we process the command
  } else if(!Serial.available()) {
    return 0; // no command available
  } else
    cmd = Serial.read();

  if(cmd < 'a' || cmd > 'z') // not a valid command
    return 0;

  return cmd;
}
After getCommand has successfully fetched a command and returned it, consecutive calls of paramXXX() methods can be used to fetch parameters for that command. Here’s the simplest of these methods, one that reads one hex character and returns it:
int PiSerial::paramHex() {
  int ch;

  if(isError()) // don't read more if error state
    return 0;

  while(!Serial.available()) {} // wait for character

  ch = Serial.read();

  if(ch >= '0' && ch <= '9')
    return ch - '0';
  else if(ch >= 'A' && ch <= 'F')
    return ch - 'A' + 10;

  // not a valid HEX, assume it's a command
  nextCommand = ch; // enter error state, store potential command
  return 0;
}
Notice how the method checks if the read character is actually a hex, and if not, how the character is stored in nextCommand variable. Note also that once that variable becomes nonzero, no reading is done from serial – effectively the library is leaving the serial data alone until getCommand() is invoked the next time, so one failed command does not prevent also the next command from being successfully parsed.
Other paramXXX() commands are essentially just chaining the paramHex() invocations. The method endCommand() is similar to paramHex(), but instead of a hex, it scans for either “\r\n” or “\n” – and if something else is received, that too is stored in nextCommand.
Because every time a command ends abruptly (not enough parameters, or a new command received before termination) or is too long (hex received where “\r\n” or “\n” should have been received), nextCommand is set to a nonzero value, so isError() method can just return that.
Simple Arduino sketch to utilize the library
I named the library PiSerial, with the anticipation that I will later write a similar library for Raspberry Pi to communicate with it. Initializing the library only requires one parameter, the baud rate – here 9600 is used. Simple commands are used to make the library parse sent commands, parameters etc. and send success/error messages over serial line.
Here’s all code that is needed to make the Arduino respond to one command, “cN” where N is a parameter, and when it’s zero, the onboard Arduino LED (pin 13) is OFF, and when non-zero, ON:
#include <PiSerial.h>

PiSerial piSerial;

void setup() {
  piSerial.init(9600); // 9600 baud communication
  pinMode(13, OUTPUT); // initialize onboard LED as output
}

void loop() {
  int param;

  // read command and process
  switch(piSerial.getCommand()) {
  case 0: // non-command character
    break; // ignore

  case 'c': // command 'c' received
    param = piSerial.paramHex(); // one hex parameter
    piSerial.endCommand(); // end of command

    if(!piSerial.isError()) {
      digitalWrite(13, (param ? HIGH : LOW));
      piSerial.sendOK();
    } else
      piSerial.sendError();
    break;

  default: // Unknown command
    piSerial.sendError();
  }
}
Note that we are handling two special cases in the loop – a null command indicating that the library encountered an invalid command character (could be parameters of a previous command which was partially lost, a newline or invalid character), and “default:” section which sends error message for commands that are not implemented. You can upload the sketch, fire up Serial Monitor (Ctrl+Shift+M), make sure that you’ve selected “Newline” and “9600 baud” from the dropdowns in the bottom of the serial monitor window. Here’s an example session (I’ve used ‘>’ to mark things you type, and lines after show what Arduino responds and an explanation in parentheses – note that in actual session there are no newlines or the text in parentheses):
> x RR (invalid command)
"#) (nothing is returned for invalid chars) c1 OK (LED lights up) c00 RR (too many parameters) c0 OK (LED turns off) 123c1 OK (LED turns on - "123" is just discarded before "c")
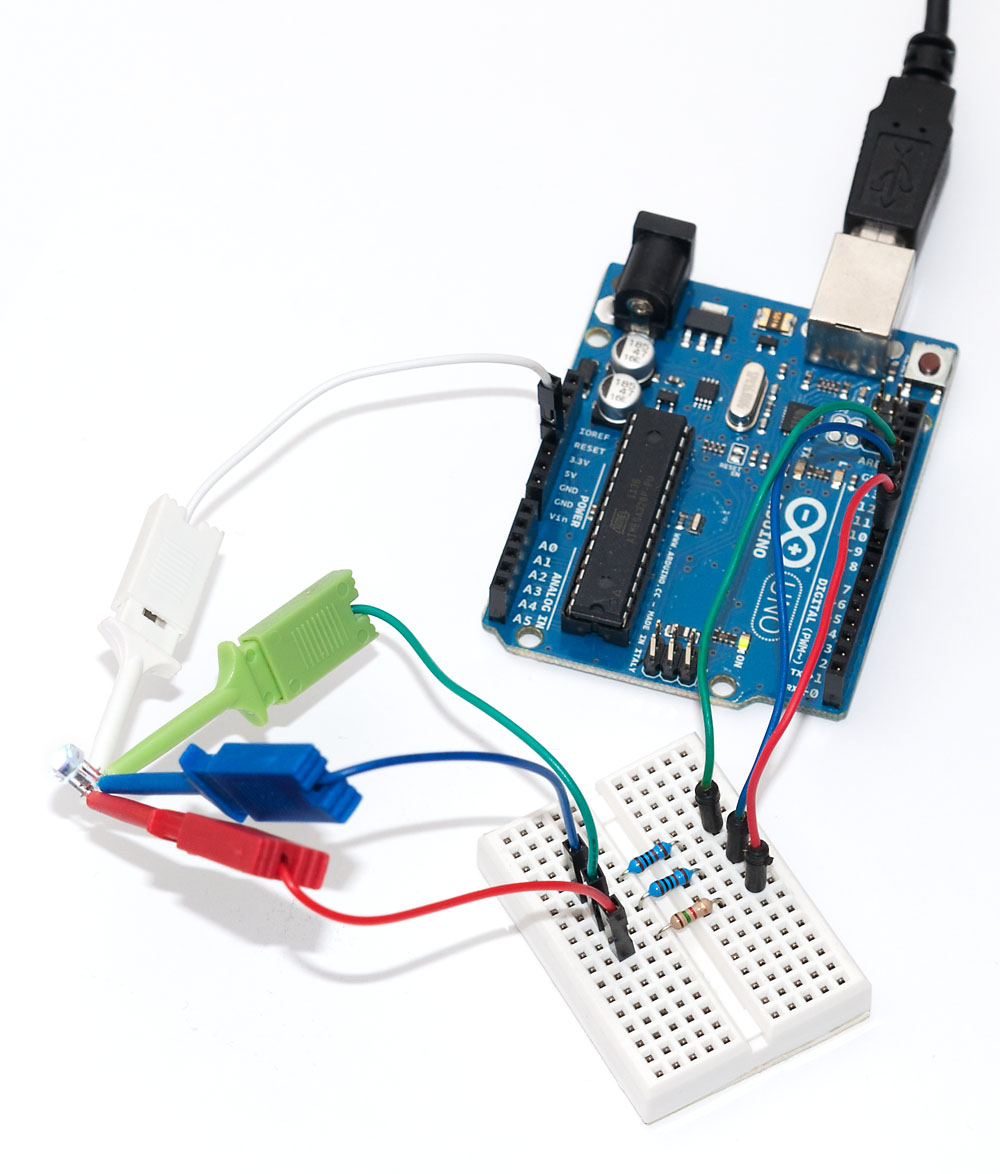
Quite nice! As you can see, the command parsing is quite resilient against most errors, and responds only to valid commands. And it’s extremely easy to extend the command set. I’ve prepared a complete zip file with another example sketch that assumes a RGB LED (with proper resistors) is connected to pins 9-11. Here’s a short example session on how to control that, too:
> rFF OK (red LED turns on, full intensity)
g80 OK (green LED turns on, half intensity) r00 OK (red LED turns off) n OK (on-board LED turns on) f OK (on-board LED turns off) cFF00FF OK (RGB LED turns to #FF00FF, i.e. purple) c000000 OK (RGB LED turns off)
That’s all for this time, next post will discuss the RaspPi side library for communicating with Arduino. I suggest you to download the zip, unpack it to your Arduino sketches folder, read to code and try it out. If you want to make a new sketch using the library, just use Sketch -> Import Library functionality to import PiSerial to your sketch.