Repairing a Shuttle motherboard with new capacitors
Sat, Jun 9, 2012 in post Electronics Tips and Tricks capacitor electronics repair failed capacitor motherboard repair shuttle
Just a short post today, in case this will save someone’s day like it did my friend’s. He has a small Shuttle PC setup that suddenly stopped working about three weeks ago – the machine seemed to power up, but no picture came to screen. After some googling, he found out that the motherboard of this specific MB+case combo sometimes dies because of failed capacitors. And indeed, the biggest caps on the MB seemed to have a slight bulge on the top. So he called me if I could help him to replace them, to see if that would help.
The first thing to do was of course procure similar caps. The possibly failed models were three 1500 uF, 10V caps, so I got four new ones to replace them.
Removing the old caps
The first task was to remove the old capacitors from the motherboard. Because we wouldn’t be needing them, we used some force and cutters to first remove the capacitors themselves, and then set out to remove the legs with a solder iron. Unfortunately, the lead-free solder had a melting point beyond the number 7 tips of my Weller Magnastat, and no amount of heating was able to remove the legs!
A few days later, I had augmented my tip arsenal with number 8 and number 9 tips and we set again back to work. The number 8 finally did the trick, and we got all the legs out.
Inserting new caps
After cutting the legs to a reasonable length, we proceeded to solder them to the motherboard. All lead did not come out when removing the old legs, so we used a method where I warmed the solder and my friend pushed the capacitor in from the other side of the board. This worked nicely, and I finally added a small amount of solder before letting the board to cool.
Mission: Successful
After putting the board back into the case, there was a moment of solemn silence (and maybe silent prayer :) while my friend pushed the power on. And what do you know: The machine game back to life and worked perfectly. $300 worth of gear saved with the price of three caps, $3 total.

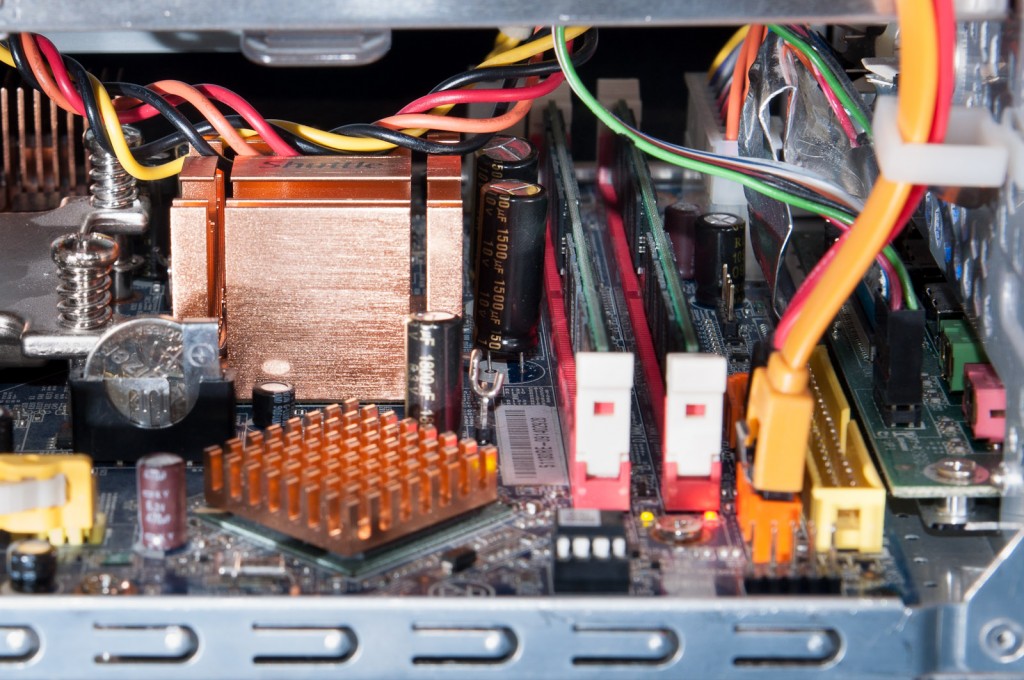
New capacitors, new life: The two of the replaced capacitors are right next to the heatsink

5 comments
Luke Stutters:
What was the Shuttle model?
jokkebk:
Shuttle XPC Barebone SG31G2
Brian:
Nice! Awesome work, stupid capacitors going bad
David:
Thanks ! It works. I have the same motherboard but it wasn’t the same capacitors. I had 3 capacitors to replace. I did it, it’s not nice ( because it’s my first solder ) but it works perfectly !
Merci beaucoup !!!
jerome:
I have the same machine with the exact same issue. A friend of mine repairs TVs and Stereos (analog mostly) and he easily swapped the bad caps out with the good ones. Now this old Shuttle works like new– very happy with this fix– the machine is too good to lose!